



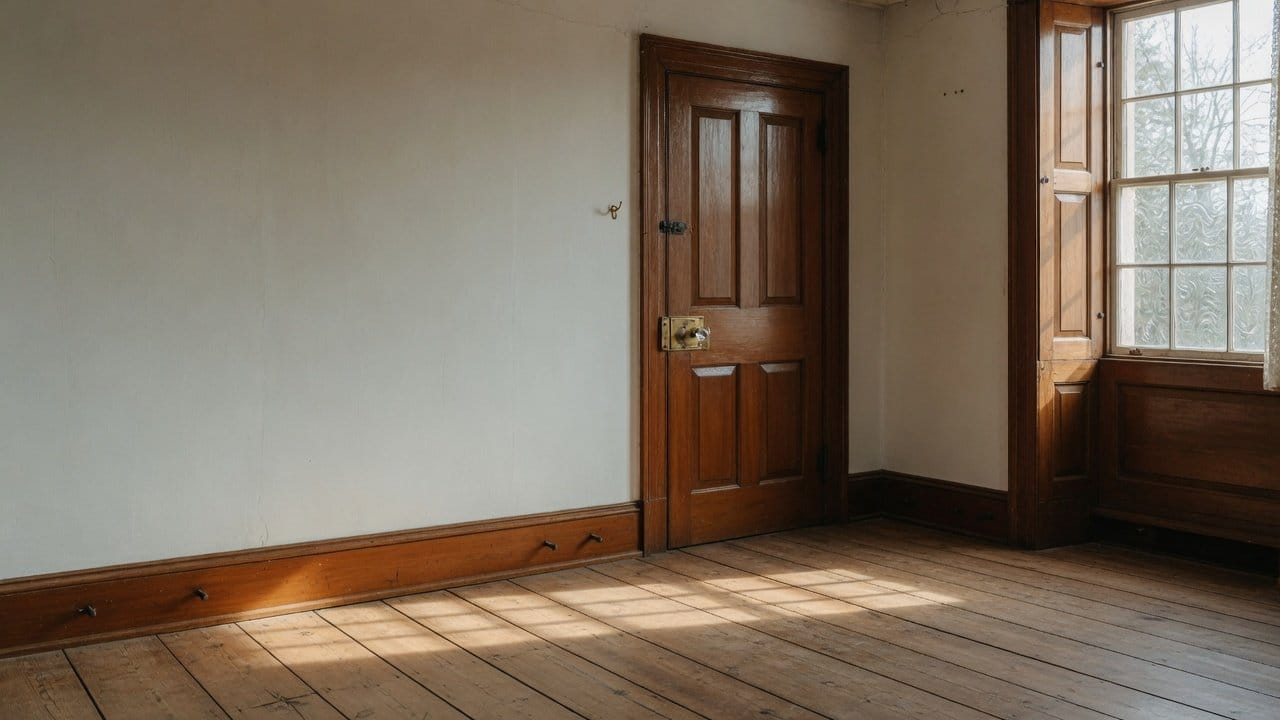
TL;DR: Most MetroWest homes built before the 1990s have oil-based paint somewhere, usually on trim, doors and cabinets. Latex applied directly over it will not bond, and it fails within months. Test first: rub a cotton ball with denatured alcohol on a hidden spot. If color transfers, it is water-based. If nothing comes off, it is oil. If it tests oil, the sequence is degrease, sand to 180 to 220 grit, dust off, then two coats of a bonding primer before a quality acrylic topcoat. A $15 to $25 quart of bonding primer is the entire difference between a finish that lasts years and one that peels in weeks. On a pre-1978 home, test for lead before you sand anything.
Not sure what is on your trim? Call or text Dave at (774) 217-9567. We test before we quote, because the answer changes the prep and the price.
This is the single most common cause of interior paint failure I see in older MetroWest homes, and it is completely avoidable. Somebody paints beautiful new latex over original oil trim, it looks perfect for a season, and then it starts peeling off in sheets that come away like a sticker. The paint was fine. The chemistry was wrong.
Why will latex not stick to oil-based paint?
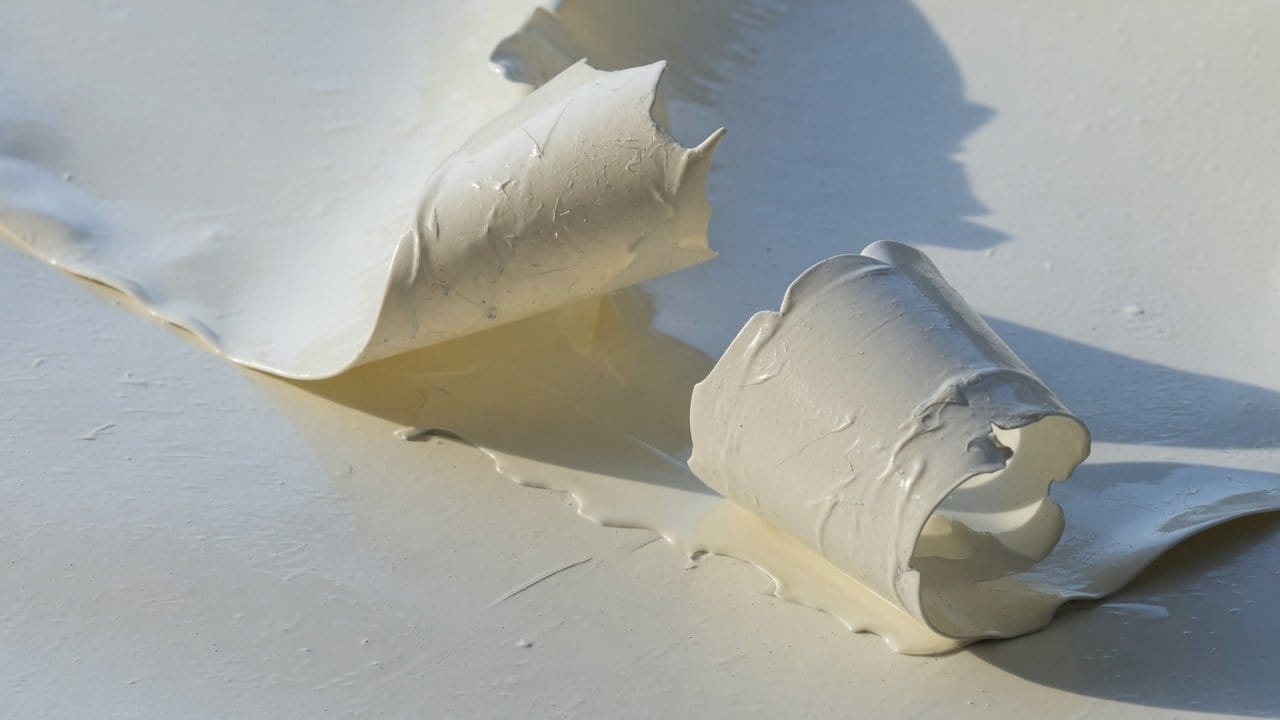
Because they cure differently and they do not want each other. Oil-based paint cures by oxidation into a hard, dense, closed film. Water-based paint forms its film as water evaporates and the resin particles knit together. Laid over a cured oil surface, the latex has nothing to grip: no porosity to sink into, no tooth, and no chemical affinity.
What you get is a mechanical bond so weak that ordinary movement breaks it. Trim expands and contracts through a New England winter, a door gets bumped, someone leans a chair against a baseboard, and the new film releases. The tell is that it peels in continuous sheets rather than flaking in chips, and the surface underneath still looks glossy and intact.
How do you tell if existing paint is oil or latex?
Ninety seconds and a cotton ball.
- Dampen a cotton ball, pad or swab with denatured alcohol. Acetone or nail polish remover works if that is what you have.
- Rub firmly on a small hidden area: inside a closet door edge, behind a radiator, the back of a cabinet door.
- Use a white rag on dark paint and a dark rag on light paint so any transfer is visible.
- Color comes off on the cotton: water-based. Nothing comes off: oil-based.
One nuance. If the surface looks and behaves like oil but softens slightly under alcohol, you may have a waterborne alkyd, a hybrid product common in the last fifteen years. For repainting purposes treat those like water-based.
Age helps you here. A coating older than 7 to 30 days that can be scrubbed without marking is cured, and anything from a previous decade is thoroughly cured. In an older home, that is almost always the case.
Where to expect oil in a MetroWest house: trim, doors, cabinets, stair balustrades and radiators. Oil was the standard for trim and cabinetry through the 1970s and 1980s, which is exactly the era of much of our local housing stock. It is a routine finding on trim and crown moulding work, on staircase and banister refinishing, and on cast iron radiators.
Test for lead before you sand
This comes before the prep, not after, and it is not optional.
Any home built before 1978 may have lead paint under those layers, and sanding is precisely the activity that turns intact lead paint into airborne dust throughout your house. Federal and Massachusetts rules require that anyone paid to disturb paint in a pre-1978 home be a certified Lead-Safe Renovation Contractor, and the requirement applies from the bidding stage forward.
For a DIY project on an older home, use a lead test kit first and plan on wet-sanding and containment if it comes back positive. Our Massachusetts lead paint homeowner's guide covers this properly, and given how much of MetroWest predates 1978, assume you are in scope until you have proven otherwise.
What is the correct prep over oil-based paint?
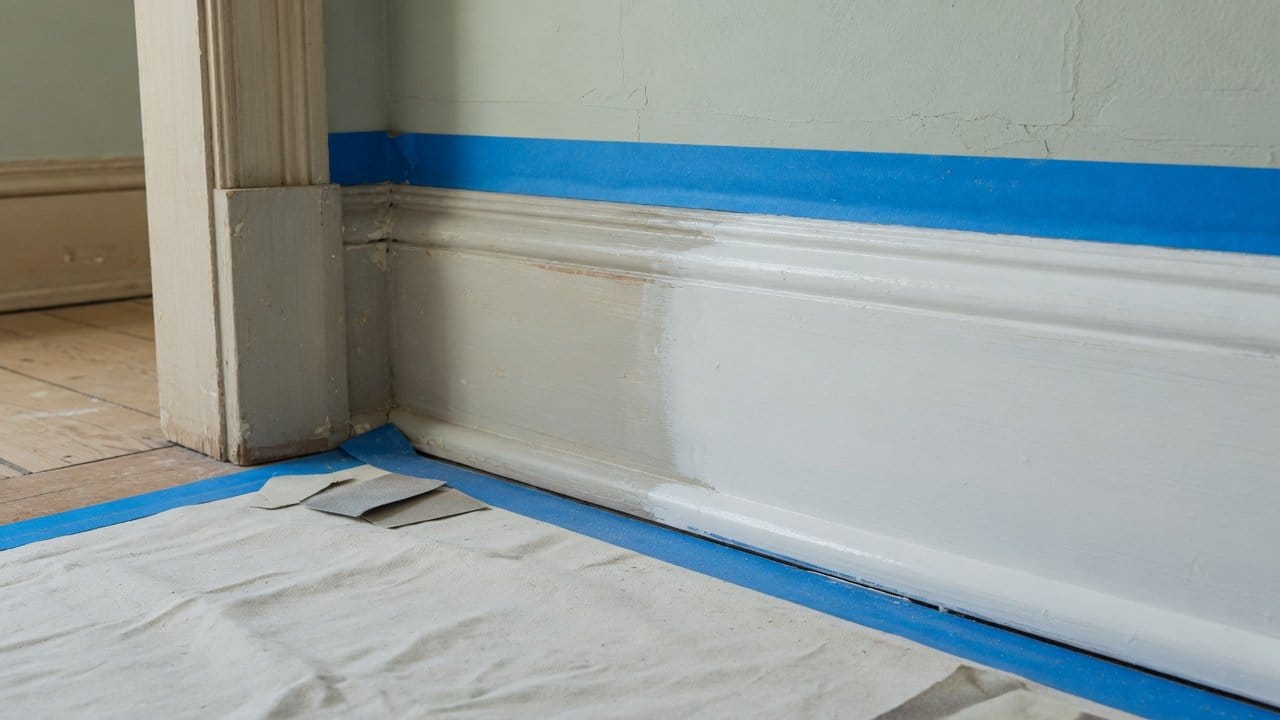
Five steps, none skippable:
- 1. Clean and degrease. Trim and especially kitchen cabinets carry grease and skin oil. Degrease thoroughly and rinse.
- 2. Sand. 180 to 220 grit to kill the gloss. You are not removing the paint, you are giving the primer tooth. Scrape any chipped or lifting areas, fill dents and cracks with wood filler, sand smooth once dry.
- 3. Remove all dust. Vacuum, then a tack cloth. Dust under primer is a bond breaker.
- 4. Prime with a bonding primer. The label must say bonding. Water-based or oil-based both work, but it has to be formulated for adhesion to glossy, difficult surfaces. Most professionals apply two coats, letting each dry per the manufacturer's schedule.
- 5. Topcoat. A quality 100% acrylic enamel. Lightly sanding the cured primer before the topcoat gives the smoothest and longest-lasting result.
If you are going oil over oil, the job is simpler: clean, light sand, paint. Oil bonds to oil. But most homeowners are moving to water-based for the low odor, faster recoat and easier cleanup, which means the primer step is what makes it possible.
What does the extra step cost?
Very little, which is what makes skipping it so unfortunate. A quart of quality bonding primer is $15 to $25, and total DIY prep materials for a room of trim run roughly $30 to $70.
Set that against the alternative: stripping failed latex off oil trim is far more labor than doing it right originally, because now you are removing a coating that is bonded in some places and not others. It is one of the clearest cases of the pattern in why prep work is 80% of a great paint job.
The bottom line
In an older MetroWest home, assume oil until you have tested. The test takes ninety seconds and a cotton ball. If it comes back oil, the answer is not a better topcoat, it is degrease, sand to 180 to 220 grit, dust off, two coats of bonding primer, then acrylic. And on anything pre-1978, test for lead before a single piece of sandpaper touches the surface. If the wall itself is hollow or mapped, fix the plaster before you argue about oil versus latex; see plaster wall repair before painting. Paint that peels in sheets is not a paint problem, it is a chemistry problem, and it is entirely preventable for the price of a quart of primer.
Paint Pro New England is EPA Lead-Safe certified and has worked on MetroWest's older homes for 15 years, serving Holliston, Medway, Hopkinton, Sherborn, Dover, Wellesley, Natick and the surrounding towns, with a 2 year warranty and 5.0 stars across 60+ reviews. For a free estimate that starts with testing what is actually on your trim, call (774) 217-9567.
Dave Griffiths
Dave Griffiths is the owner of Paint Pro New England, a professional painting company serving MetroWest Boston since 2011. With 15+ years of interior and exterior painting experience across the region, he leads every project with thorough prep, premium Benjamin Moore and Sherwin-Williams paints, and a 2-year warranty.

