TL;DR: Crisp, durable trim and crown moulding come down to three things: the right finish (a high-quality satin or semi-gloss enamel), patient prep (caulk, fill, sand, prime), and technique that keeps a wet edge so there are no brush marks. Painting the trim and moulding in an average MetroWest home runs roughly $1,200–$3,500 depending on linear footage, condition, and how many coats the old finish needs. It's the detail people notice first and the hardest part to fake — which is exactly why it's worth doing right.
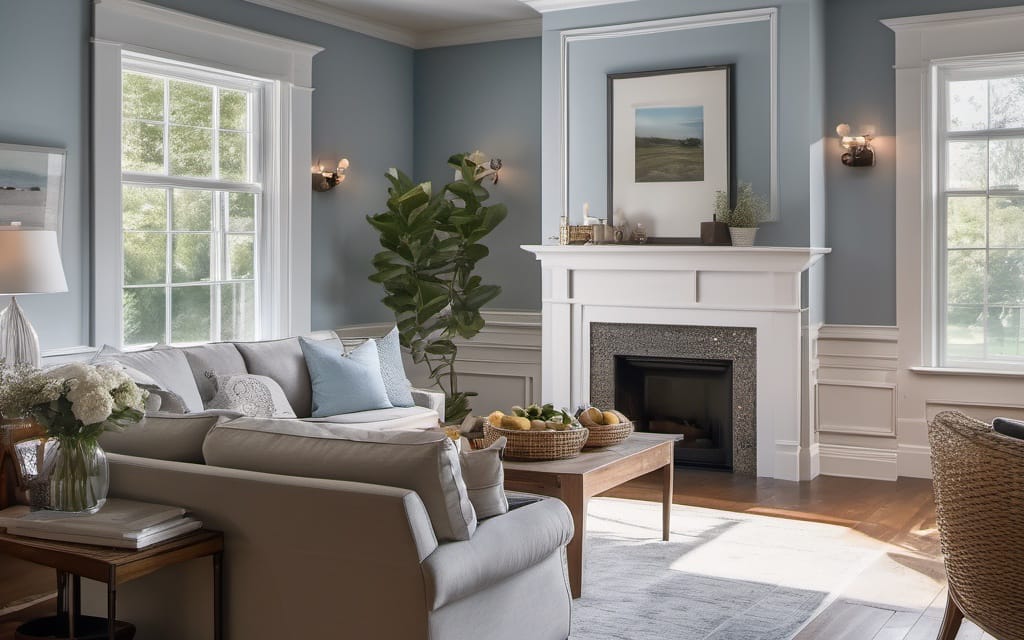
Walk into a freshly painted room and your eye goes straight to the edges. The line where the wall meets the ceiling. The casing around the windows. The baseboards, the crown, the panelled wainscoting. When that millwork is crisp and smooth, the whole room reads as finished. When it's brushy, chipped, or yellowed, no wall color can save it. After fifteen years painting homes across MetroWest Boston, trim is the part we get asked about most — and the part that separates a good paint job from a great one.
Why does trim and moulding matter so much?
Trim is the jewelry of a room. It frames every opening, defines the proportions, and catches the light. In the historic colonials, Capes, and Victorians common across Holliston, Sherborn, Dover, and Wellesley, the millwork is often the best feature in the house — original casings, deep baseboards, crown that's been there since the 1800s. Painting it well honors the architecture. Painting it poorly buries it.
It's also the most-touched, most-abused surface in the home. Baseboards get vacuumed into and kicked. Door casings get hands and shoulders. Window sills take sun and condensation. So trim paint has to do two jobs at once: look flawless and hold up to daily life. That's a different challenge than a wall, and it needs a different product and approach.
What paint finish should you use on trim?
For trim, crown moulding, doors, and casings, we use a satin or semi-gloss enamel — almost never flat. Here's the logic:
- Semi-gloss is the classic trim finish. It's durable, wipes clean, and gives that subtle sheen that makes moulding pop against a matte wall. Best for high-traffic trim, doors, and bathrooms.
- Satin is a touch softer and more forgiving on older, imperfect woodwork — it hides minor dings that a high gloss would spotlight. A good choice for historic homes where the trim isn't perfectly smooth.
- Enamel formulas (waterborne alkyd enamels like Benjamin Moore Advance or the harder acrylic enamels) level out as they dry, so brush marks soften and the finish looks sprayed even when it isn't.
The wall and the trim should contrast in sheen, not just color. A flat or matte wall next to a satin/semi-gloss trim is what gives a professional job that crisp, layered look. If you want help matching sheens to each room, we walk through it in our guide to choosing the right paint finish for every room.
How do painters get trim with no brush marks?
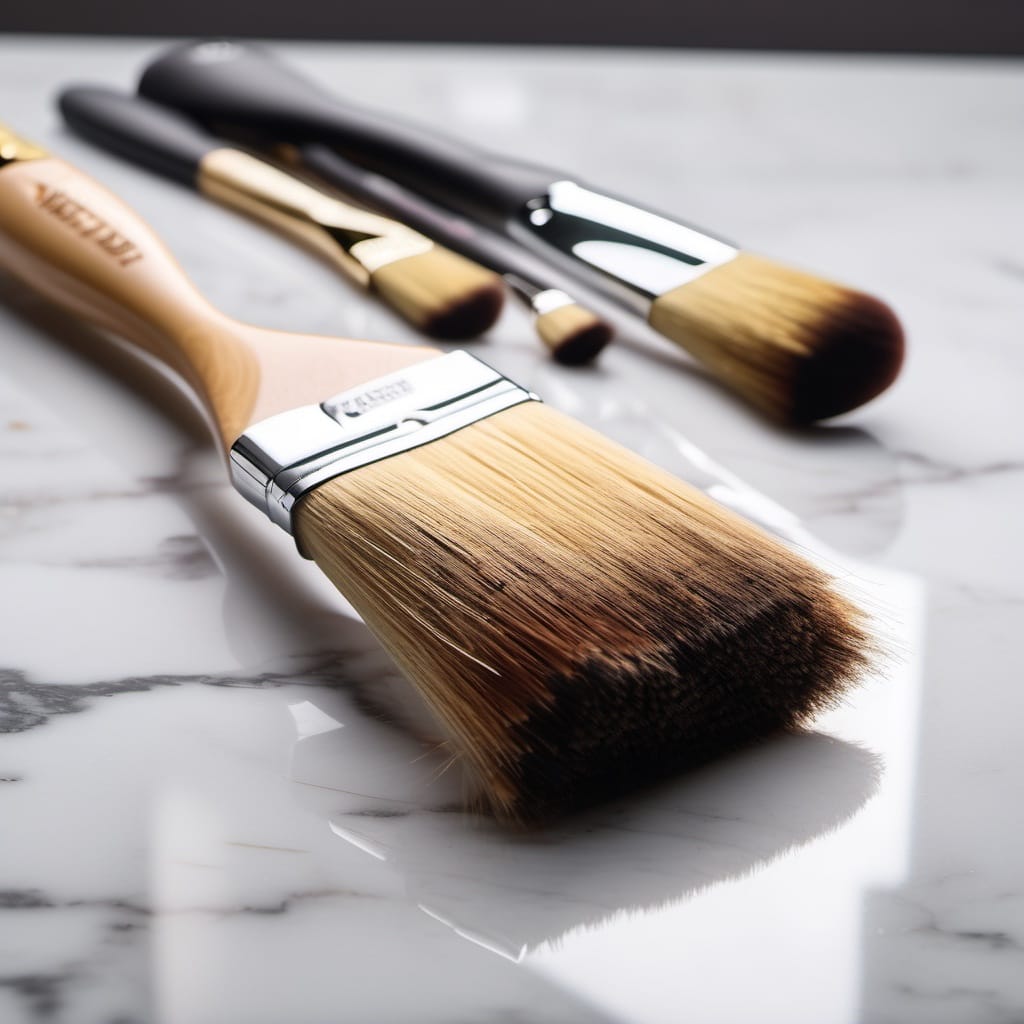
This is the question we hear most, and the answer is part product, part technique. The brush marks people hate come from paint that dries before it can level, and from working over a dried edge. Here's how a pro avoids both:
- Use a leveling enamel (see above) so the finish flows out as it cures.
- Keep a wet edge. Work in manageable sections and always brush back into paint that's still wet. Stopping in the middle of a long baseboard and coming back to it later is what leaves a visible lap line.
- Load the brush properly and lay off in one direction with light final strokes — don't overwork it.
- Spray where it makes sense. On doors, built-ins, and extensive trim, spraying (then back-brushing or leaving it as a factory-smooth finish) gives the glassiest result. It takes far more masking and skill, which is why it's a pro move.
- Sand between coats. A light scuff with fine sandpaper after the first coat knocks down any raised grain or dust nibs so the second coat goes on like glass.
What prep does trim painting actually require?
Prep is where the lasting result is won or lost — it's the same story as any quality job, and we go deep on it in why prep work is 80% of a great paint job. For trim and moulding specifically, the prep checklist is:
- Clean the surface — degrease door casings and kitchen trim where hands and cooking film build up.
- Fill nail holes, cracks, and dings with wood filler; sand flush.
- Caulk the seams — where trim meets the wall, where mitered corners have opened up. A clean caulk line is half of what makes trim look crisp.
- Sand glossy old trim to give the new coat something to grip. Skipping this is the #1 reason fresh trim paint peels or scratches off later.
- Prime bare wood, filler spots, and any stain-prone or previously oil-painted trim with the right bonding or stain-blocking primer.
In pre-1978 homes — and MetroWest has thousands of them — old trim may carry lead paint. Sanding it requires EPA Lead-Safe (RRP) practices to contain the dust safely. We're Lead-Safe certified and handle older woodwork to code.
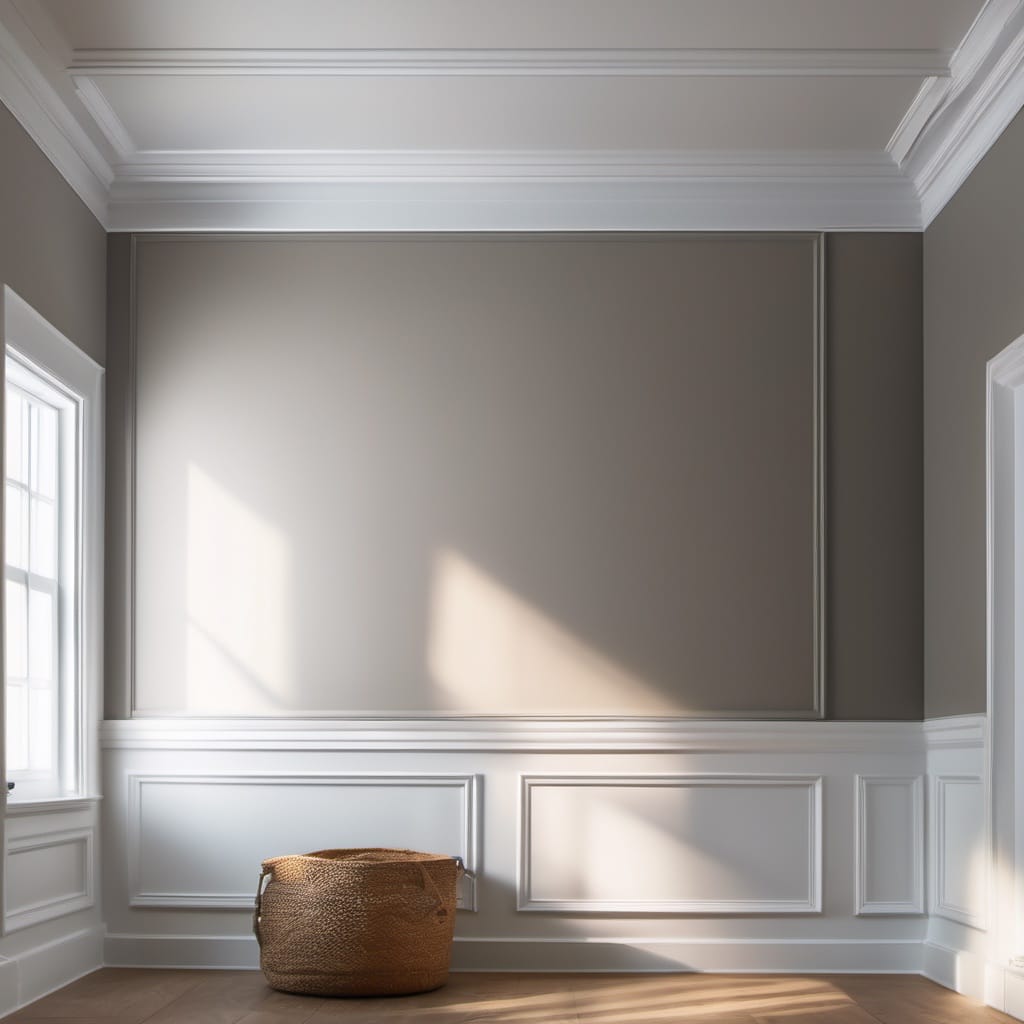
What's different about crown moulding and wainscoting?
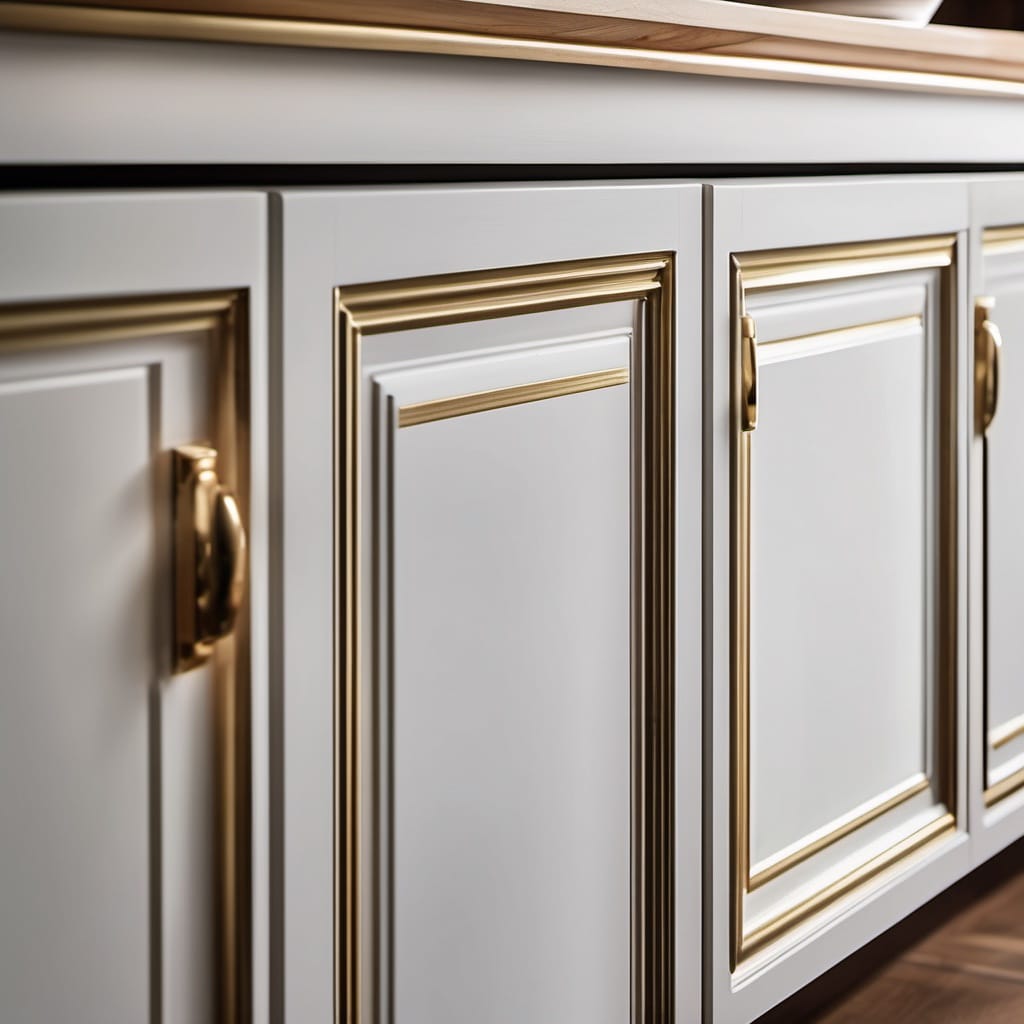
Crown moulding sits where wall meets ceiling, so the two cut lines — crown-to-wall and crown-to-ceiling — have to be dead straight or the whole room looks off. It's almost always painted a crisp white (or a hair brighter than the wall) to define the ceiling height. The profile catches shadow, so any drip or heavy brush stroke shows; this is detail work, done from a ladder, with a steady hand.
Wainscoting, board-and-batten, and panelled trim have lots of inside corners and flat fields, which is exactly where spraying earns its keep — a sprayed-and-leveled panel reads as built-in cabinetry. The current trend of "color drenching" (painting the wainscoting, trim, and walls all one color in different sheens) leans hard on flawless millwork, so prep matters even more.
How much does it cost to paint trim and moulding in MetroWest?
Trim painting is usually priced by linear footage and condition rather than a flat number, but here's a realistic range for MetroWest Boston homes:
- Crown moulding: roughly $1–$3 per linear foot to paint, depending on height, profile, and number of coats.
- Baseboards and casings: similar per-foot range; older trim that needs heavy filling, sanding, or stain-blocking primer lands at the top end.
- A full interior trim repaint for an average home typically falls in the $1,200–$3,500 range; larger homes with extensive millwork or detailed wainscoting run higher.
- Doors (often bundled with trim) run about $75–$150 each to paint properly, more if sprayed.
Two things drive the price more than anything else: how much prep the existing trim needs, and whether it's brushed or sprayed. A written, itemized scope that spells out coats and prep is the only way to compare painters fairly — cheap bids almost always cut the prep.
Should you DIY trim or hire a pro?
Trim is the most unforgiving DIY painting project there is. Walls are flat and forgiving; trim is all edges, sheen, and straight lines, where every flaw shows in raking light. If you've got a steady hand, patience, and a small room, a careful homeowner can get a decent result on baseboards. Crown moulding, extensive wainscoting, doors you want sprayed, or any pre-1978 trim that needs sanding are jobs where a pro pays for themselves — in the finish, the speed, and the lead-safe handling. If you're choosing trim and wall colors together, our notes on the best white paint for New England rooms and interior colors for New England colonials are a good place to start.
The bottom line
Trim and moulding are the details that make a whole house feel cared for. Get the finish right, do the prep, keep a wet edge, and the millwork in even a 200-year-old MetroWest colonial will look like a masterpiece. That's the part we love most — and the part we'd be glad to handle for you.
Paint Pro New England has painted interior trim, crown moulding, and millwork across Holliston, Medway, Hopkinton, Sherborn, Dover, Wellesley, and the rest of MetroWest for 15 years. EPA Lead-Safe certified, fully insured, 2-year warranty, 5.0 stars across 60+ reviews. For a free, itemized estimate, call (774) 217-9567.
David Griffiths
David Griffiths is the owner of Paint Pro New England, a professional painting company serving MetroWest Boston since 2011. With 15+ years of interior and exterior painting experience across the region, he leads every project with thorough prep, premium Benjamin Moore and Sherwin-Williams paints, and a 2-year warranty.