
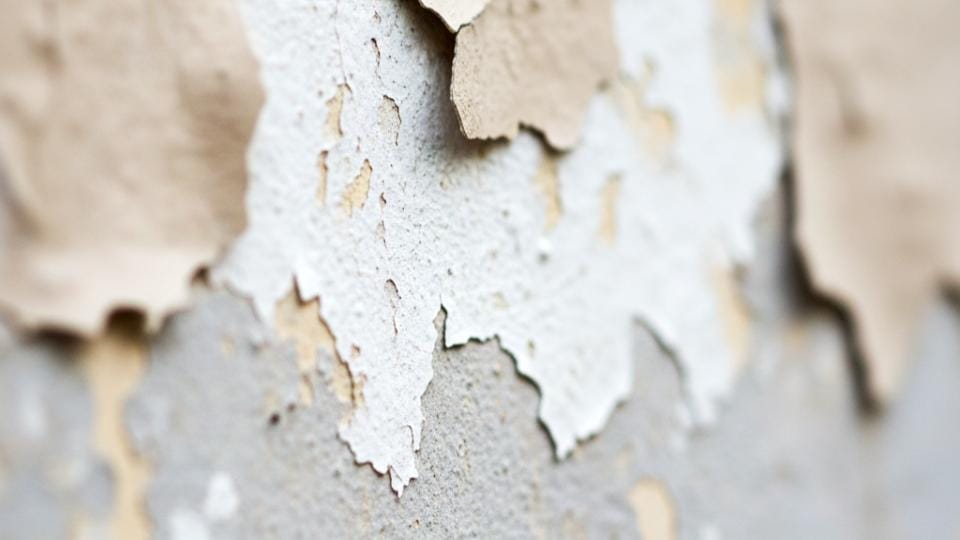
You walk outside one morning and there it is—paint curling off your siding like old wallpaper. Or maybe you notice it in the bathroom first, little bubbles forming near the ceiling. Either way, the question is the same: why is this happening, and what do I do about it?
Paint doesn't just decide to fail. There's always a reason. And understanding that reason is the difference between a quick fix and a problem that keeps coming back every few years.
After fifteen years of painting homes across MetroWest Boston, I've seen just about every type of paint failure. The patterns are remarkably consistent—and so are the solutions.
The 5 Main Causes of Peeling Paint
Most peeling paint traces back to one of five root causes. Some are about what happened before the paint went on. Others are about what's happening behind your walls right now.
1. Moisture Intrusion: The Silent Destroyer
If I had to pick the number one cause of paint failure in Massachusetts homes, it's moisture. Not dramatic water damage you'd notice immediately—just slow, persistent moisture that works its way into wood and pushes paint off from underneath.
Moisture-related paint failure shows up differently depending on where it originates:
Exterior Peeling Near the Ground
Water splashing up from the foundation, or moisture wicking up from soil. This is especially common in homes without proper grading—where the ground slopes toward the house instead of away from it.
What to check:
- Gutter downspouts—are they directing water away from the foundation?
- Ground slope—does water pool near your house after rain?
- Mulch or soil piled against siding—this traps moisture against wood
Bathroom and Kitchen Peeling
Steam is the culprit here. That hot shower you take every morning? The pasta water you boil without running the vent fan? All that moisture has to go somewhere. When ventilation isn't enough, it goes into your walls—and eventually pushes the paint right off.
I see this constantly in older homes where bathroom exhaust fans vent into the attic instead of outside. The moisture just moves from one problem area to another.
Peeling Around Windows
Condensation. When warm interior air meets cold glass in winter, you get moisture. That moisture runs down into the window frame, and eventually, into the surrounding wall. If your windows fog up regularly between November and March, check the paint around those frames closely.
Blistering on Sunny Exterior Walls
This one surprises homeowners. If you paint exterior siding when moisture is trapped in the wood—maybe from morning dew or recent rain—that moisture turns to vapor when the sun heats the wall. The vapor pushes outward, and the paint bubbles.
This is why reputable painters won't start exterior work until mid-morning, after the dew has evaporated. It's also why we wait 24-48 hours after rain before painting.
2. Inadequate Surface Preparation
This is the cause that makes me wince, because it's completely preventable.
Paint needs to grip something. It forms a mechanical and chemical bond with the surface beneath it. If it's applied over:
- Dirt, pollen, or chalky residue
- Glossy surfaces that weren't scuffed or sanded
- Mildew or mold (even if it looked clean)
- Old flaking paint that wasn't properly scraped
- Grease or oil residue
...then it's only a matter of time before failure. The new paint isn't stuck to your house. It's stuck to the layer of contamination underneath. When that layer lets go, everything peels off with it.
The Pressure Washing Problem
I see this constantly when homeowners or budget painters try to save time. They pressure wash (good), but then paint the next day before the wood fully dries (bad). Wood siding can hold moisture for 48-72 hours after a thorough pressure washing. Paint applied over damp wood will fail.
Or they skip the pressure washing entirely and paint over years of accumulated pollen, dirt, and oxidation. The new paint looks great for about six months.
3. Incompatible Paint Layers
Oil-based paint was the standard for decades. Then latex (water-based) paint took over because it's easier to work with, dries faster, and cleans up with soap and water. The problem? Latex applied directly over oil doesn't always stick.
Why This Happens
Oil-based paint cures to a hard, glossy surface. Latex paint is more flexible. When latex is applied over oil without proper preparation, the two layers expand and contract at different rates. Eventually, they separate.
If your home was built before the 1980s, there's a good chance the original paint was oil-based. If someone later painted over it with latex without proper priming, you've got two layers that don't want to be together.
How to Test What You Have
Here's a simple test: dab some denatured alcohol on an inconspicuous spot and rub gently with a rag. If the paint softens or comes off on your rag, it's latex. If nothing happens, it's oil-based.
If you're dealing with oil-based paint underneath, the solution is a bonding primer before your new topcoat. This gives the latex something to grip.
4. Low-Quality Paint or Improper Application
Not all paint is created equal. Contractor-grade paint from the big box stores contains less resin and pigment than premium products. It goes on thinner, covers less, and breaks down faster under UV exposure and weather stress.
Signs of Paint Quality Issues
- Fading within 2-3 years (especially on south-facing walls)
- Chalking—a powdery residue that comes off when you touch the surface
- Poor coverage that shows the old color bleeding through
- Cracking in a pattern that looks like dried mud
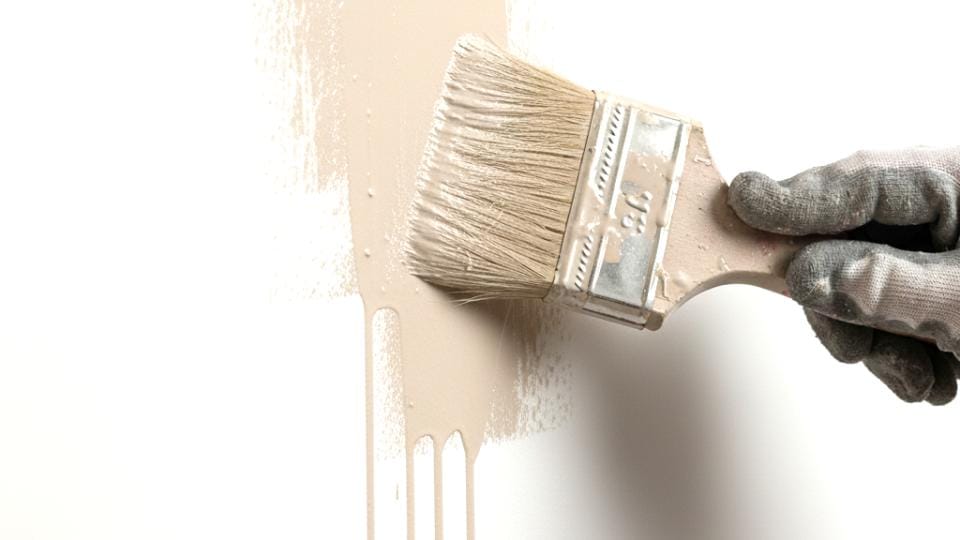
Application matters too. Paint applied too thick can crack as it cures. Paint applied too thin won't protect the surface. Paint applied in direct sun or extreme temperatures won't bond properly.
5. The Paint Is Simply Old
Everything has a lifespan. Even a quality paint job on a perfectly prepped surface will eventually break down from sun, rain, freeze-thaw cycles, and time.
Typical Paint Lifespans in New England
- Exterior paint: 7-10 years for quality paint properly applied
- Interior paint (low traffic): 10-15 years
- Interior paint (high traffic): 5-7 years for hallways, kitchens, kids' rooms
- Bathroom paint: 5-8 years due to moisture exposure
- Deck stain: 2-4 years depending on sun exposure
If your last paint job was a decade ago and things are starting to go, that's not failure. That's simply age. A fresh coat with proper prep will give you another decade.
Reading the Signs: What Your Peeling Paint Is Telling You
The location and pattern of paint failure often reveals the underlying cause.
Peeling Patterns and Their Meanings
Large sheets coming off: Usually adhesion failure. The paint never bonded properly—either inadequate prep or incompatible layers underneath.
Small bubbles or blisters: Moisture or heat. If the blisters are filled with water when you pop them, moisture is actively getting in. If they're dry, the paint was likely applied over a damp surface originally.
Alligator cracking: A pattern resembling reptile skin. This typically means the paint film got too thick—either from too many coats without scraping, or from applying coats too heavily.
Fine hairline cracks: Usually age-related. The paint has lost flexibility and can't handle the expansion and contraction of the underlying surface.
Peeling only in specific rooms: Environmental issue. Bathrooms mean moisture. Sunrooms mean temperature swings. Unheated spaces mean condensation.
Peeling at edges, seams, and joints: Water infiltration. Check caulking around windows, doors, and trim. Water is getting in somewhere.
Fixing Peeling Paint: DIY vs. Professional Repair
When You Can Handle It Yourself
For isolated peeling—a window frame, a single patch on the siding, one section of bathroom ceiling—you can often handle the repair yourself. Here's the right approach:
Step-by-Step DIY Repair
- Remove all loose paint. Not just the obviously peeling sections—anything that moves when you scrape needs to go. Use a paint scraper or putty knife and work outward from the damaged area until you hit paint that's solidly adhered.
- Feather the edges. Sand the transition where old paint meets bare surface. You want a gradual slope, not a sharp edge that will show through your new paint.
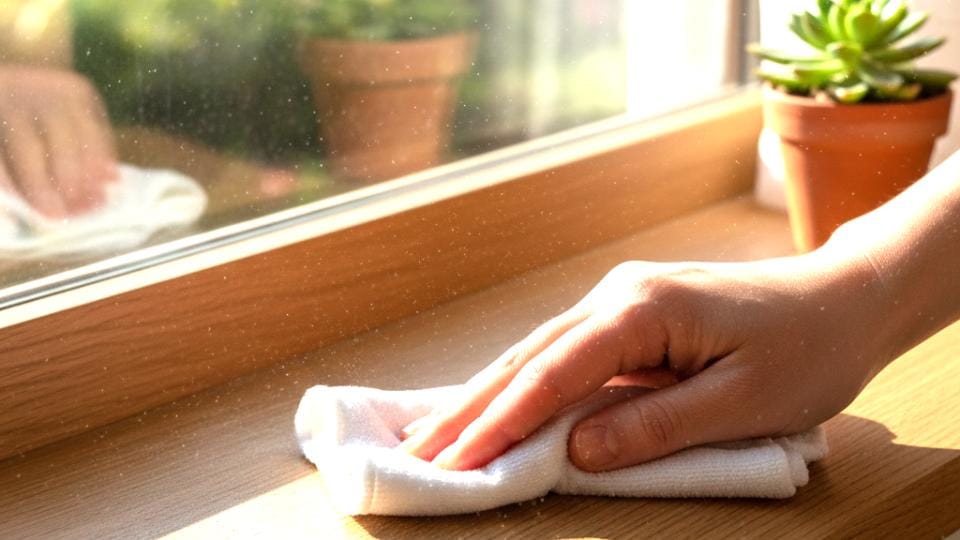
- Clean the surface. Wipe down with a damp cloth to remove dust and debris. For exterior work, a light pressure wash may be appropriate. Let everything dry completely—at least 24 hours for bare wood.
- Address the underlying cause. If moisture caused the problem, fix the moisture source first. Improving ventilation, repairing gutters, or fixing grading won't help if you just paint over the symptoms.
- Prime bare surfaces. Use a quality primer appropriate for your surface. For bare wood, an oil-based or shellac-based primer provides the best adhesion. For drywall, a PVA primer works well.
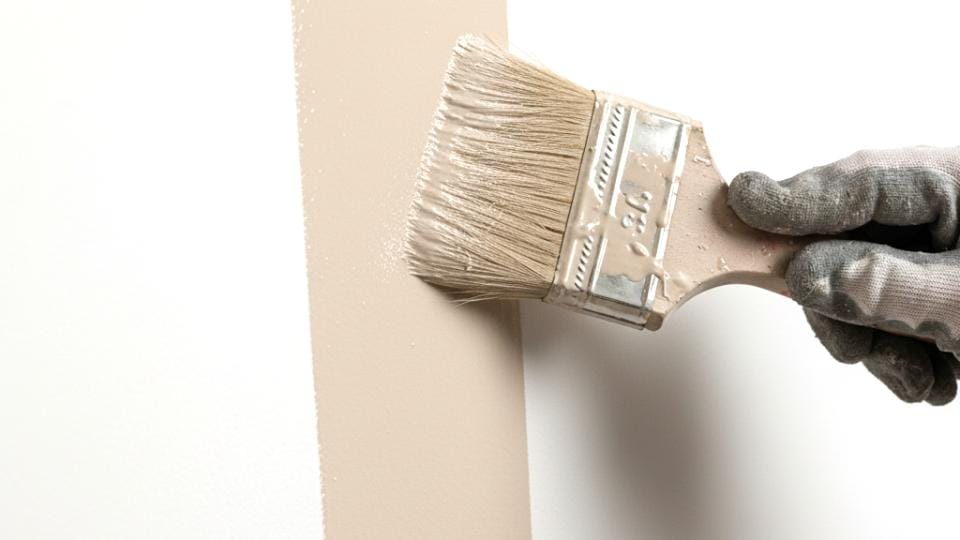
- Apply two coats of quality paint. Don't skimp here. One thick coat is not the same as two proper coats. Allow proper drying time between coats per the manufacturer's instructions.
When to Call a Professional

If you're seeing any of these situations, it's time for a professional assessment:
- Peeling on multiple sides of the house. This indicates a systemic problem, not isolated failure.
- Soft or spongy wood underneath the paint. You've got rot, and painting over it will just hide the problem temporarily.
- Signs of mold or mildew. This needs proper treatment before any paint goes on, and sometimes indicates moisture problems in the wall cavity.
- Your home was built before 1978. Lead paint is likely present. Disturbing lead paint improperly is a health hazard—especially for children—and is regulated by the EPA. You need an RRP-certified contractor.
- You've already repainted once and it's peeling again. When the same area fails twice, DIY approaches aren't addressing the root cause.
Preventing Future Paint Failure
The best way to deal with peeling paint is to prevent it in the first place.
For Exterior Paint
- Maintain gutters and downspouts to direct water away from the house
- Keep vegetation trimmed back from siding
- Ensure proper grading around the foundation
- Address any caulk or flashing failures promptly
- Don't paint in wet conditions or over damp surfaces
For Interior Paint
- Use exhaust fans when showering or cooking
- Address any plumbing leaks immediately
- Maintain consistent temperature and humidity when possible
- Use appropriate paint sheen—higher gloss for moisture-prone areas
For Any Paint Job
- Invest in quality paint. The price difference between contractor-grade and premium paint is maybe $100-200 for an average room. The longevity difference is years.
- Don't skip prep work. Ever.
- Hire qualified painters who understand these principles—or take the time to do it right yourself.
The Bottom Line
Peeling paint is a symptom, not the disease. You can repaint over it, but if you don't address why it peeled in the first place, you're just buying time until the next failure.
The good news: once you identify and fix the underlying cause, a properly executed paint job will last. That's not optimism—that's just how paint works when it's done right.
Related Reading
- How Long Does Exterior Paint Last in New England?
- What Temperature Is Too Cold to Paint Outside?
- How Much Does House Painting Cost in Massachusetts? (2025-2026...
- Painters in Holliston, MA — Interior, Exterior & Cabinet Refin...
Frequently Asked Questions
Is peeling paint covered by a painter's warranty?
It depends on the cause. If it's a workmanship issue—inadequate prep, wrong products, application errors—a reputable painter's warranty should cover it. If the peeling is caused by moisture intrusion from a failing roof, inadequate bathroom ventilation, or other building issues, that's not a paint failure. A good painter will help you determine which is which.
Should I just paint over the peeling areas?
No. Loose paint will take any new paint right off with it. You must remove everything that's not solidly adhered before you repaint. Painting over peeling paint is the definition of throwing money away.
Does cheap paint peel more than expensive paint?
Not necessarily peel, but it fails faster in other ways—fading, chalking, losing coverage, and becoming brittle. That said, even the best paint will peel if the prep was inadequate or moisture is present. Quality paint is only part of the equation.
How can I tell if my peeling paint contains lead?
If your home was built before 1978, assume lead paint is present unless testing proves otherwise. You can buy lead test kits at hardware stores, or hire a certified inspector for more accurate results. If lead is present, follow EPA RRP guidelines or hire a certified contractor.
How much does it cost to fix peeling paint professionally?
If spring is when you first noticed the problem, our spring painting checklist for MetroWest homes walks through what else to inspect on your exterior — and when the painting window actually opens in Massachusetts.
If you're a landlord or property manager, our rental property painting schedule guide covers what peeling typically costs to fix at turnover and how to plan ahead.
That depends entirely on the scope—how much area is affected, what's causing the problem, and what repairs are needed underneath. A small bathroom ceiling might be a few hundred dollars. A full exterior with rot repair could be several thousand. The only way to know is to get an assessment and quote for your specific situation.
David Griffiths